MS: New Update strategy starts now
Tomorrow Microsoft starts using the same update strategy for Windows 7 and Windows 8.1, as they do for Windows 10.
All updates will be installed as one cumulative update.
Source: https://www.petri.com/microsofts-new-windows-78-rollup-patches-released-starting-tomorrow
SCCM 1511 Prereq upgrade warning: Unsupported Operating System
Hi All,
A couple of days ago I decided to upgrade my SCCM DEMO environment to the newest version of SCCM 1511.
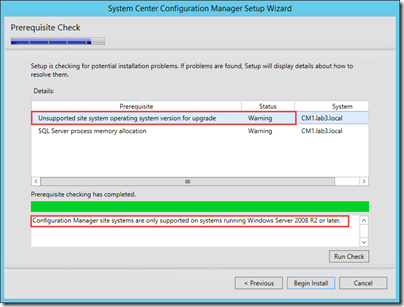
When running the prereq checker, I got the “normal” warning about SQL Server process memory allocation, but I also got a new warning that I hadn’t seen before.
Warning: Unsupported site system operating system version for upgrade!
My only server for SCCM was running Windows Server 2012 R2 so I found the warning a bit odd.
Looking into the log file c:\ConfigMgrPrereq.log I found the “issue”
My SCCM DEMO environment has an Intune connector installed and a Cloud DP manage.microsoft.com.
The prereq checker will also check OS version at manage.microsoft.com and obviously fails ![]()
So without further thinking I clicked “Begin Install” and the upgrade succeeded.
Enjoy
Jens Ole
Join me at the What’s new in Windows 10 IT Innovation Series Event
Hi all,
Later this January I will help my colleague Ronni Pedersen at this Microsoft Event. If interested, please use the below links to register.
Hope to see you
/Jens Ole

What’s new in Windows 10 Enterprise: Increasing Security, Predictability, and Compatibility
Experience the most innovative and reliable Windows yet! Windows 10 brings increased stability and predictability to your organization, while minimizing risk. Attend this free one-day training event to explore new servicing, security, and management features that enable corporate data access across devices and platforms while allowing you to maintain control over those devices.
Join Microsoft MVP Ronni Pedersen and learn to:
- Help ensure application compatibility with new and legacy LOB apps with Microsoft Edge and IE 11.
- Implement security and identity capabilities through Microsoft Azure Active Directory, Hello/Passport, Device Guard, Enterprise Data Protection, as well as Multi-Factor Authentication.
- Get hands-on with Windows as a Service by managing Current Branch and Long Branch scenarios.
- Create and configure deployment and management packages using Microsoft Mobile Device Management and Microsoft Intune.
Join this IT Innovation Series event for first-hand experiences with real-word scenarios around Windows 10.
Option 1: Copenhagen, Denmark:
Date: Jan 11, 2016 (9:00 AM – 5:00 PM)
Registration: https://www.microsoftevents.com/profile/form/index.cfm?PKformID=0x627587537
Option 2: Aarhus, Denmark:
Date: Jan 12, 2016 (9:00 AM – 5:00 PM)
Registration: https://www.microsoftevents.com/profile/form/index.cfm?PKformID=0x628919320
Webinar: Mobile Device Management
Hi all,
Tuesday the 8. of December at 11.00 AM I’ll host a webinar about Mobile Device Management.
It will be in Danish and will be non technical information about what you can do to help your coworkers in being productive while maintaining a secure data model.
Registration is free, use the following link
http://eg.dk/om-eg/aktuelt/cloudwebinarer
Hope to see you.
MDT 2013 Update1 – Force Application installation order using UDI
Working at a customer who wanted to install Office 2013 instead of Office 2010 using the User Driven Installation (UDI) Wizard, I ran into a little issue.
Normally it’s not a big deal. We added the Office 2013 installation to the UDI Wizard and moved it to the top as other installed software depends of the Office installation.
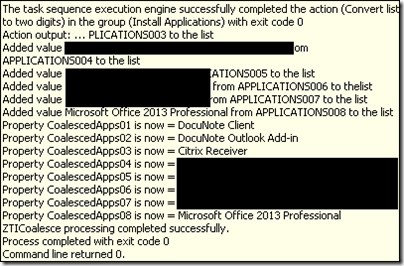
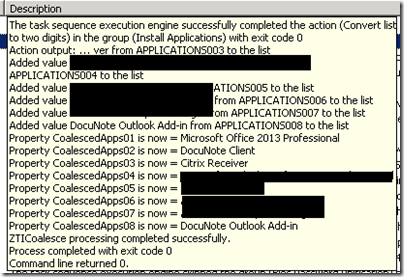
Then we did a test deployment and Office 2013 was not installed as the first application and as the Outlook Add-In application was depended of Outlook – the deployment failed installing the applications.
Looking in the UDIWizard_Config.xml.app file located in the MDT Toolkit Files package script folder, you can find the application ID number and do a quick fix ![]()
In this case the Outlook Add-In has a lower number than Office, which will result in a failure.
I wanted Office to be the first install so I changed Office 2013 to ID 8. (my lowest App ID)
The application which had ID 8, got ID 9 and finally the Outlook Add-In got ID 25
Selected Application list should be changed too according to the new App IDs.
To assure that you did not make any errors, I always open the UDIWizard_config.xml in the UDI Wizard designer and do a save.
I updated the MDT Toolkit Files Package a the DP and deployed a new machine.
The result worked as expected
I assume that I could have deleted the Outlook Add-In in the UDI Wizard Designer and added it back in. It should then have had ID 26, but if you want to “arrange” your applications, this must be the way ![]()
Applying an ICD provisioning package (Part 3)
1. part – I installed Windows Imaging and Configuration Designer (ICD) tool
2. part – I created a provisioning package
In this final part I’ll apply the created provisioning package to a Windows 10 Pro client system.
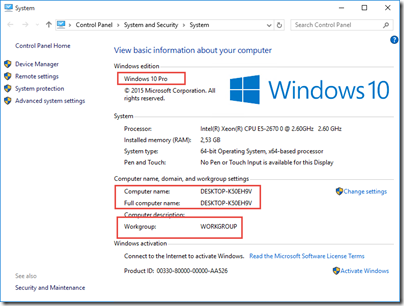
Here I got the non domain joined machine with a non standard computer name.
The computer is running Windows 10 Pro.
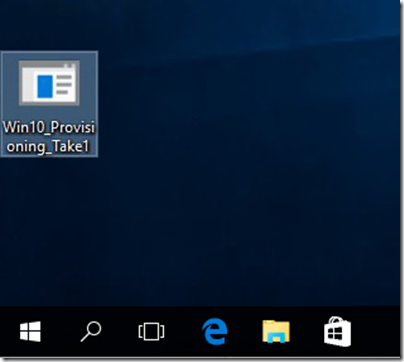
Copy the newly created provisioning package to the computer or a USB.
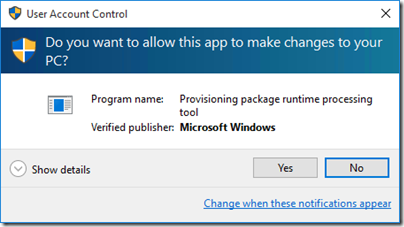
Run the Provisioning package? Yes, sure
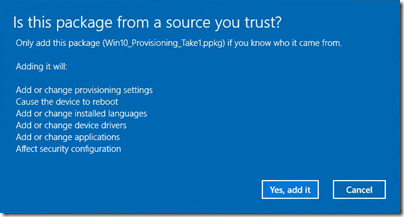
Du you trust the creator? Yes, add it
NOTE: I removed the password in my test setup. In production you will be prompted for a password to apply the package.
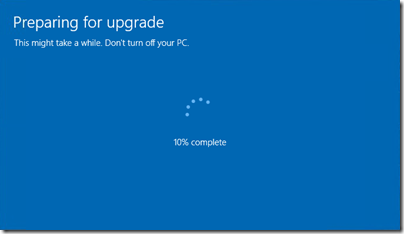
The provisioning package is applied……
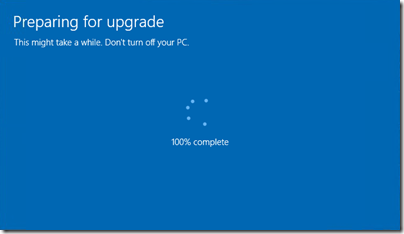
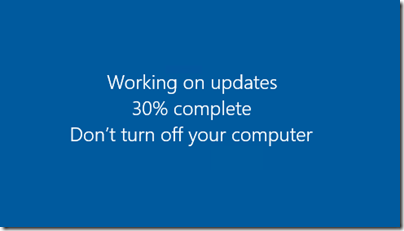
After the provisioning package is applied you’ll be signed out and the computer will restart a couple of times.
We sure did change something ![]()
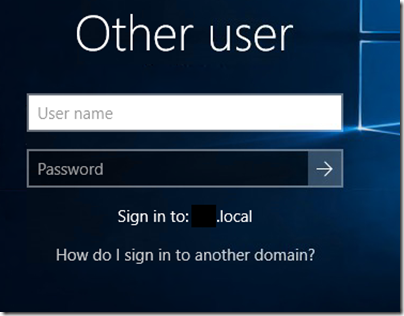
Verify that you now can login with your domain account.
After login. Cool…
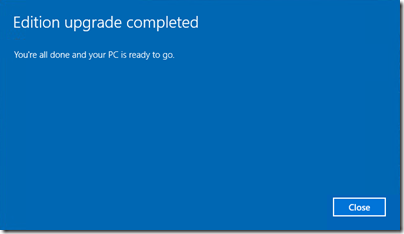
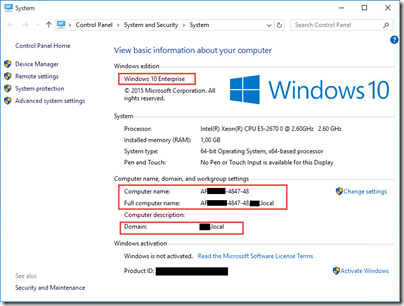
The computer is now domain joined, have a standard computer name and the Windows version is now Enterprise.
Verify that the computer is in the right OU in Active Directory too and the mission is accomplished.
/Enjoy
The Power of Windows Imaging and Configuration Designer (Part 2)
The Windows Imaging and Configuration Designer (ICD) tool can be used to a lot of different stuff. But for now I see the biggest gain for companies to use the tool for people that buy a new computer and is not near a company location where a new computer can be deployed or if the bought computer model is not on the official hardware certification list.
This guide will change the following at a Windows 10 Pro computer.
New standard computer name
Domain joined
Get the computer staged in the right OU
Upgrade the SKU to Enterprise
Let’s get started.
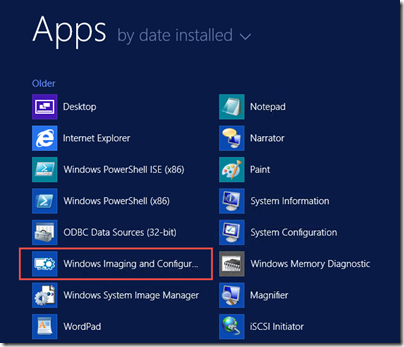
Start Windows Imaging and Configuration Designer (ICD)
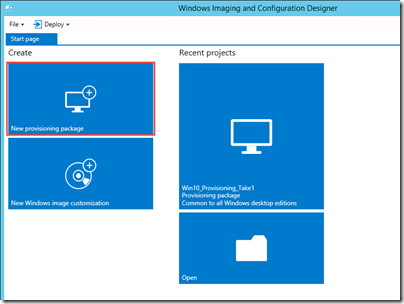
Select New provisioning package
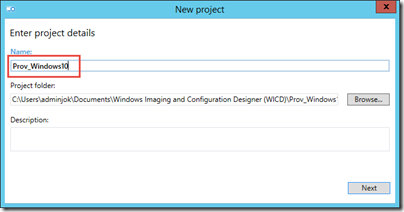
Enter Project details and choose a folder.
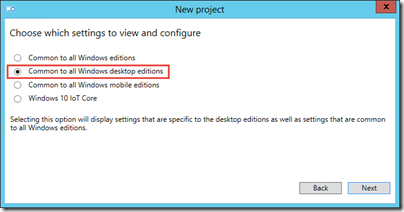
Select what Windows versions can use the package. I’ll choose Common to all Windows desktop editions
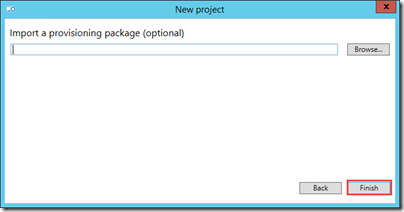
As this is a new package, I’ll not import any package, click Finish
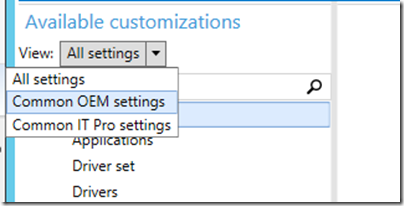
To filter out some settings, select Common IT Pro settings
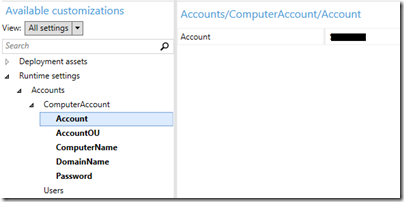
Enter the account used to do the domain join
Target OU
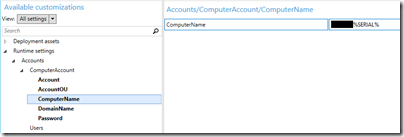
Enter Computername. In the case I use a variable to get different computernames.
TESTPC%SERIAL%
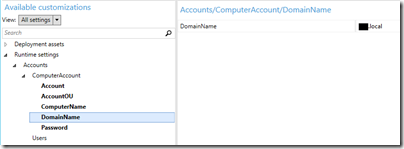
Enter DomainName
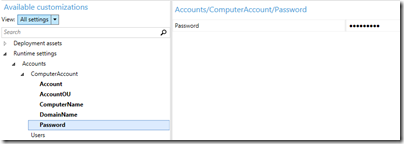
Set domain join password
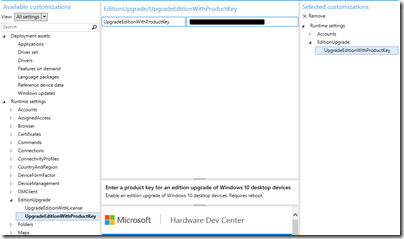
To upgrade the OS version to Windows Enterprise enter an appropriate PID.
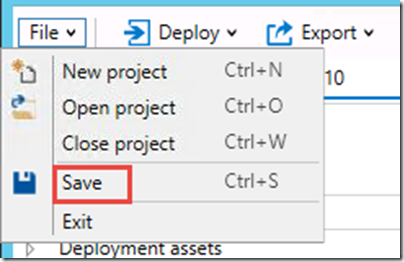
Save the project
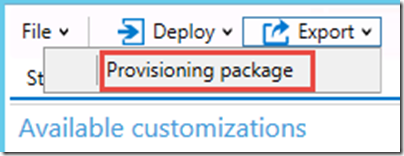
Click Export and select Provisioning package
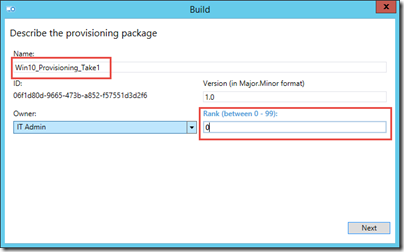
Give the provisioning package a name and select ranking
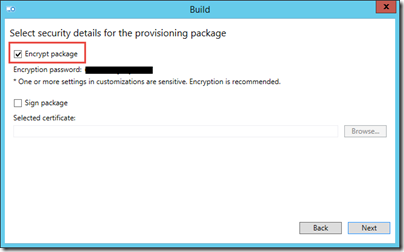
You should encrypt the package, so no one can read the passwords stored inside the package or the license key.
Further more only admins/users with the password can use the provisioning package and there by join computers to the domain.
Save
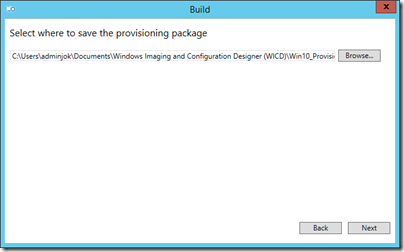
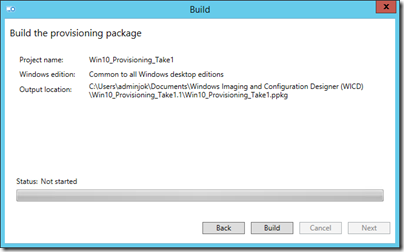
Building
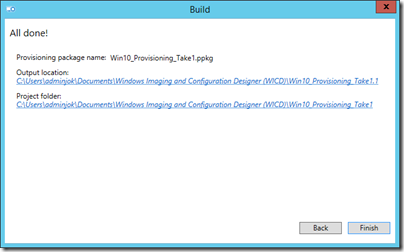
Done, Finish
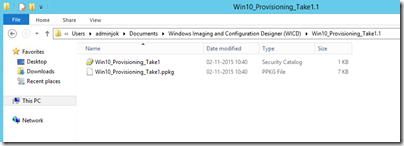
The provisioning package is now ready for use.
Next part I’ll run the package at a non domain joined Windows 10 Pro machine.
Installing Windows Imaging and Configuration Designer (Part 1)
The Windows Imaging and Configuration Designer (ICD) is a new tool, introduced with Windows 10.
ICD is a part of Windows Assessment and Deployment Kit for Windows 10 (ADK) and you can use Windows ICD to do the following tasks:
- View all of the configurable settings and policies for a Windows 10 image or provisioning package.
- Create Windows provisioning answer files.
- Add third-party drivers, apps, or other assets to an answer file.
- Create variants and specify the settings that apply to each variant.
- Build and flash a Windows image.
- Build a provisioning package.
Read more about ICD here
Download setup for Windows 10 ADK here
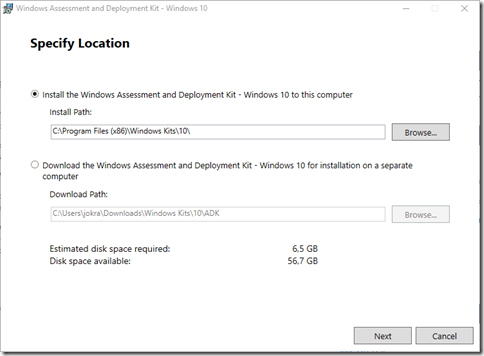
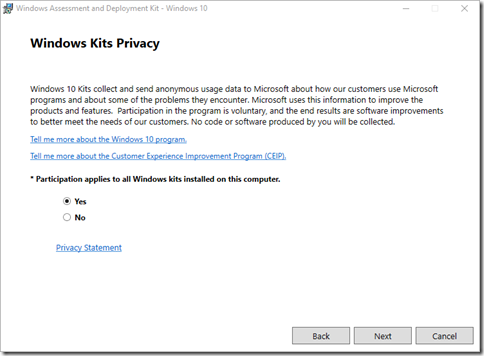
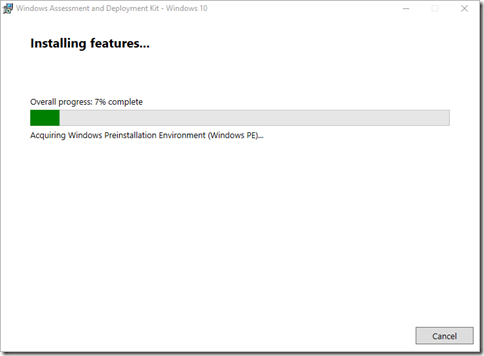
Start the installation and choose where the toolkit should be installed and if you want to send Microsoft anonymous data.
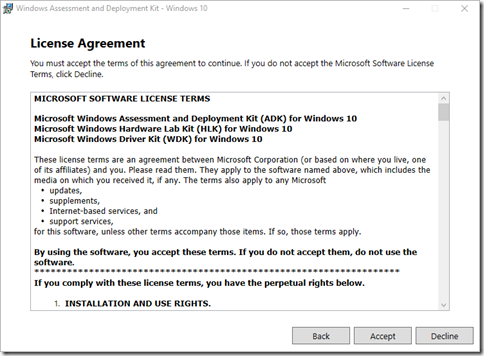
Accept the license agreement
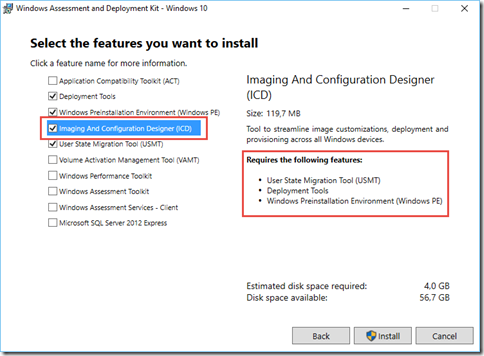
Ensure that you select Imaging and Configuration Designer (ICD).
Note the prerequirements.
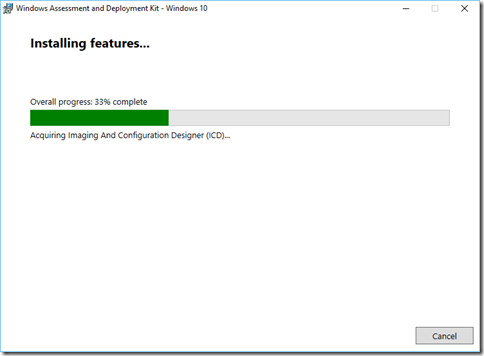
The tools are installed.
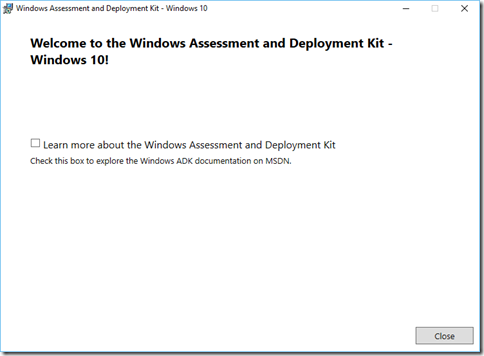
Click Close and you are ready to streamline, customize and provision Windows images.
Expect a new blog post soon.
/Jens Ole
Mobile Device Management Webinar
Hi all,
Yesterday I did an online presentation about securing your data on Mobile Devices using Microsoft Intune / System Center. Feel free to view the recorded webinar here
NB: It’s danish ![]()
/Enjoy
Installing new KMS key to support Windows 10 Activation
Many companies are evaluating Windows 10 Enterprise in these days and Windows 10 needs a new KMS key to activate. Follow this short blog post to get ready.
For now, activating Windows 10 via KMS require the KMS server to run:
- Windows Server 2012
- Windows Server 2012 R2
First you’ll have to find the correct key on MSVLC. This can be a hard job but look for this:
Most of my customers are still running KMS because they are activating Windows 7 machines.
Their KMS server activates both Windows Server, Windows Clients and Office.
If you are running Windows Server 2012 or Windows Server 2012 R2, upgrading to the new KMS key is strait forward.
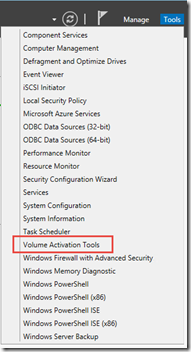
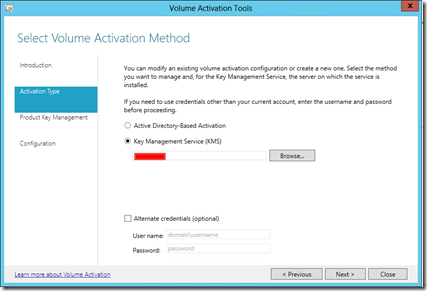
Start the “Volume Activation Tools” and choose you KMS server:
Add your existing KMS server name
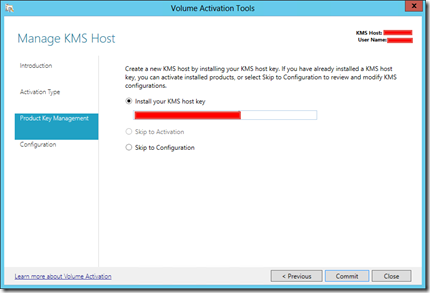
Enter (or copy/paste) your new KMS Key.
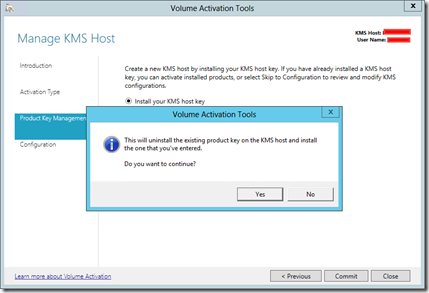
Yes, I’ll uninstall the existing key and install the key one.
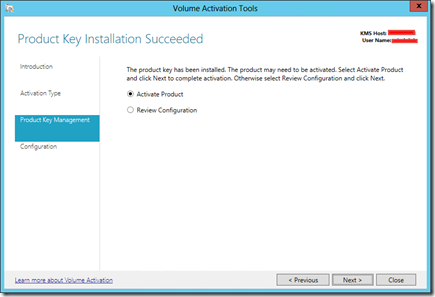
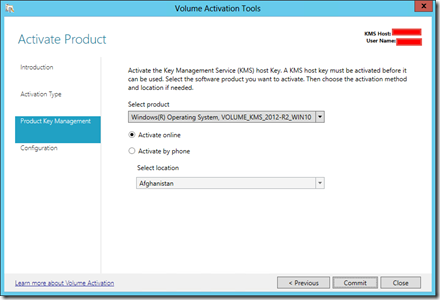
Activate, sure….
Activate Online
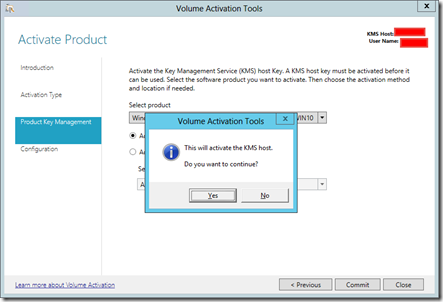
Yes, I’ll proceed.
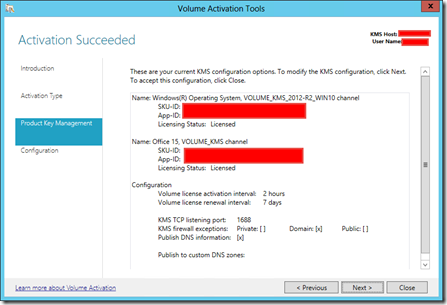
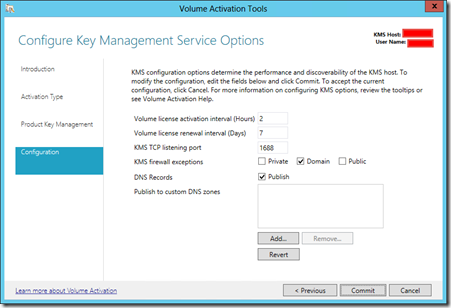
Click Next to modify KMS configuration.
..and Commit the changes
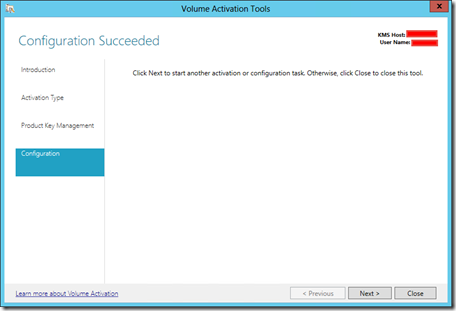
Hopefully it’s a success, and you can close the wizard.
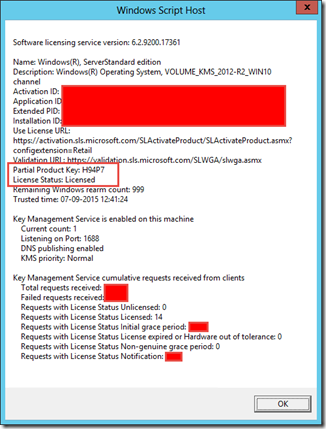
Check from an elevated prompt, that the new KMS KEY is present and it’s licensed. Also use Event Viewer to check that all is okay.
slmgr –dlv
Simple and easy – Enjoy
